If you’re gardening in Southern California, especially in Sunset Zones 23 or 24, you already know we don’t follow the same rhythm as most of the country. While others are still digging out from winter, we’re already filling trays, prepping beds, and watching the soil come back to life. Spring starts earlier here, and arrives fast, with longer daylight, mild air, and soil that warms up just enough to kickstart the first round of planting.
Whether you’re planting seeds for a full cut flower garden, exploring succession blooms, or just learning how to grow from seed for the first time, that March–April window is a sweet spot. It’s early enough that we still benefit from cooler nights and moderate days, but it’s also warm enough to get seeds moving and give plants a strong foundation. What makes this time so important is that it offers flexibility. You can start your seeds indoors under a grow light or sow them straight into outdoor beds depending on what you’re growing. And because our climate allows it, you can overlap crops and flowers in a way that’s harder to do in colder zones. It means more flowers, more produce, and more success without rushing or fighting nature’s pace.

Why Sunset Zones Matter
A lot of gardening advice out there is built around the USDA Plant Hardiness Zone system. And while that system might help you figure out if a perennial will survive winter lows, it falls short for gardeners in places like Southern California. What it doesn’t tell you is how long your spring lasts, how cool your summer mornings are, or how early you can start seeds without risking a setback. That’s where Sunset Zones come in, and why they’re such a better guide for anyone planting in Zones 23 or 24.
Sunset Zones were designed with microclimates in mind. They take into account things like proximity to the ocean, wind patterns, humidity, elevation, and even fog. For example, Zone 24 covers the coastal band where marine air keeps things mild almost all year. Zone 23, on the other hand, stretches into the inland valleys, where spring comes early but heats up fast. Knowing which one you’re gardening in helps you decide not just what to grow, but when and how to start your seeds.

Some seeds need cooler soil to germinate, while others need heat. Some plants grow faster with a long, slow start indoors. Others like to be planted directly outside without disturbance. But the key is that your local conditions determine which approach will work best. If you’re on the coast, you might be able to sow seeds in a cool bed earlier than someone a few miles inland. If you’re in the valley, you might need to start seeds indoors now, knowing you’ll be transplanting into warm soil in a matter of weeks.
So instead of relying on a generic frost date that may or may not mean anything in your area, we look to light levels, soil temperature, and even what the wind feels like in the morning. It’s these signals, not just the calendar, that help you decide when to plant the seed, when to start seeds indoors, and when to transition plants outside. Once you learn to follow the rhythm of your Sunset Zone, your seed starting setup will feel more intuitive. You’ll stop second-guessing whether you’re too early or too late, and you’ll start trusting your local climate to guide the way.

Seed Starting Tips for Your Flower Garden
Starting your own seeds indoors might seem like a science experiment at first, but once you’ve done it a couple of times, it becomes one of the most rewarding parts of gardening. In Zones 23 and 24, indoor seed starting gives you the kind of head start most gardeners can only dream of. And with the right setup, even a small sunny corner of your home can become a reliable seedling nursery.
Keep in mind, your seed starting setup doesn’t need to be fancy, it just needs to be consistent. A basic tray with a clear humidity dome, a lightweight seed starting mix, and a steady source of light can go a long way. But if you want strong seedlings, not just sprouts, light and water are everything. Start seeds under a good-quality grow light, positioned a few inches above the tray. Natural light from a window often isn’t enough, especially in early spring when the sun still sits low. If the seedlings are stretching or leaning, it’s a sign they need more direct light.

Also, use a heat mat under your trays if your house runs cool. Some seeds, like zinnias or globe amaranth, germinate faster with bottom warmth. But once you see that first sign of green, it’s time to turn off the heat. Keeping the mat on too long leads to weak, leggy seedlings. Instead, switch your focus to airflow and bottom water. Fill the tray underneath with just enough water to let the soil soak it up, avoiding wetting the leaves. This method helps prevent damping-off and keeps the them growing at a steady pace.
Another thing people often overlook is the timing. One of the best parts of gardening in this region is that you can stagger your seed starting. Start 1-2 seeds per cell and space your sowings a week or two apart. This way, when it’s time to transplant, you’re not scrambling to get dozens of seedlings in the ground all at once. It also gives you backups in case anything goes wrong with the first round.

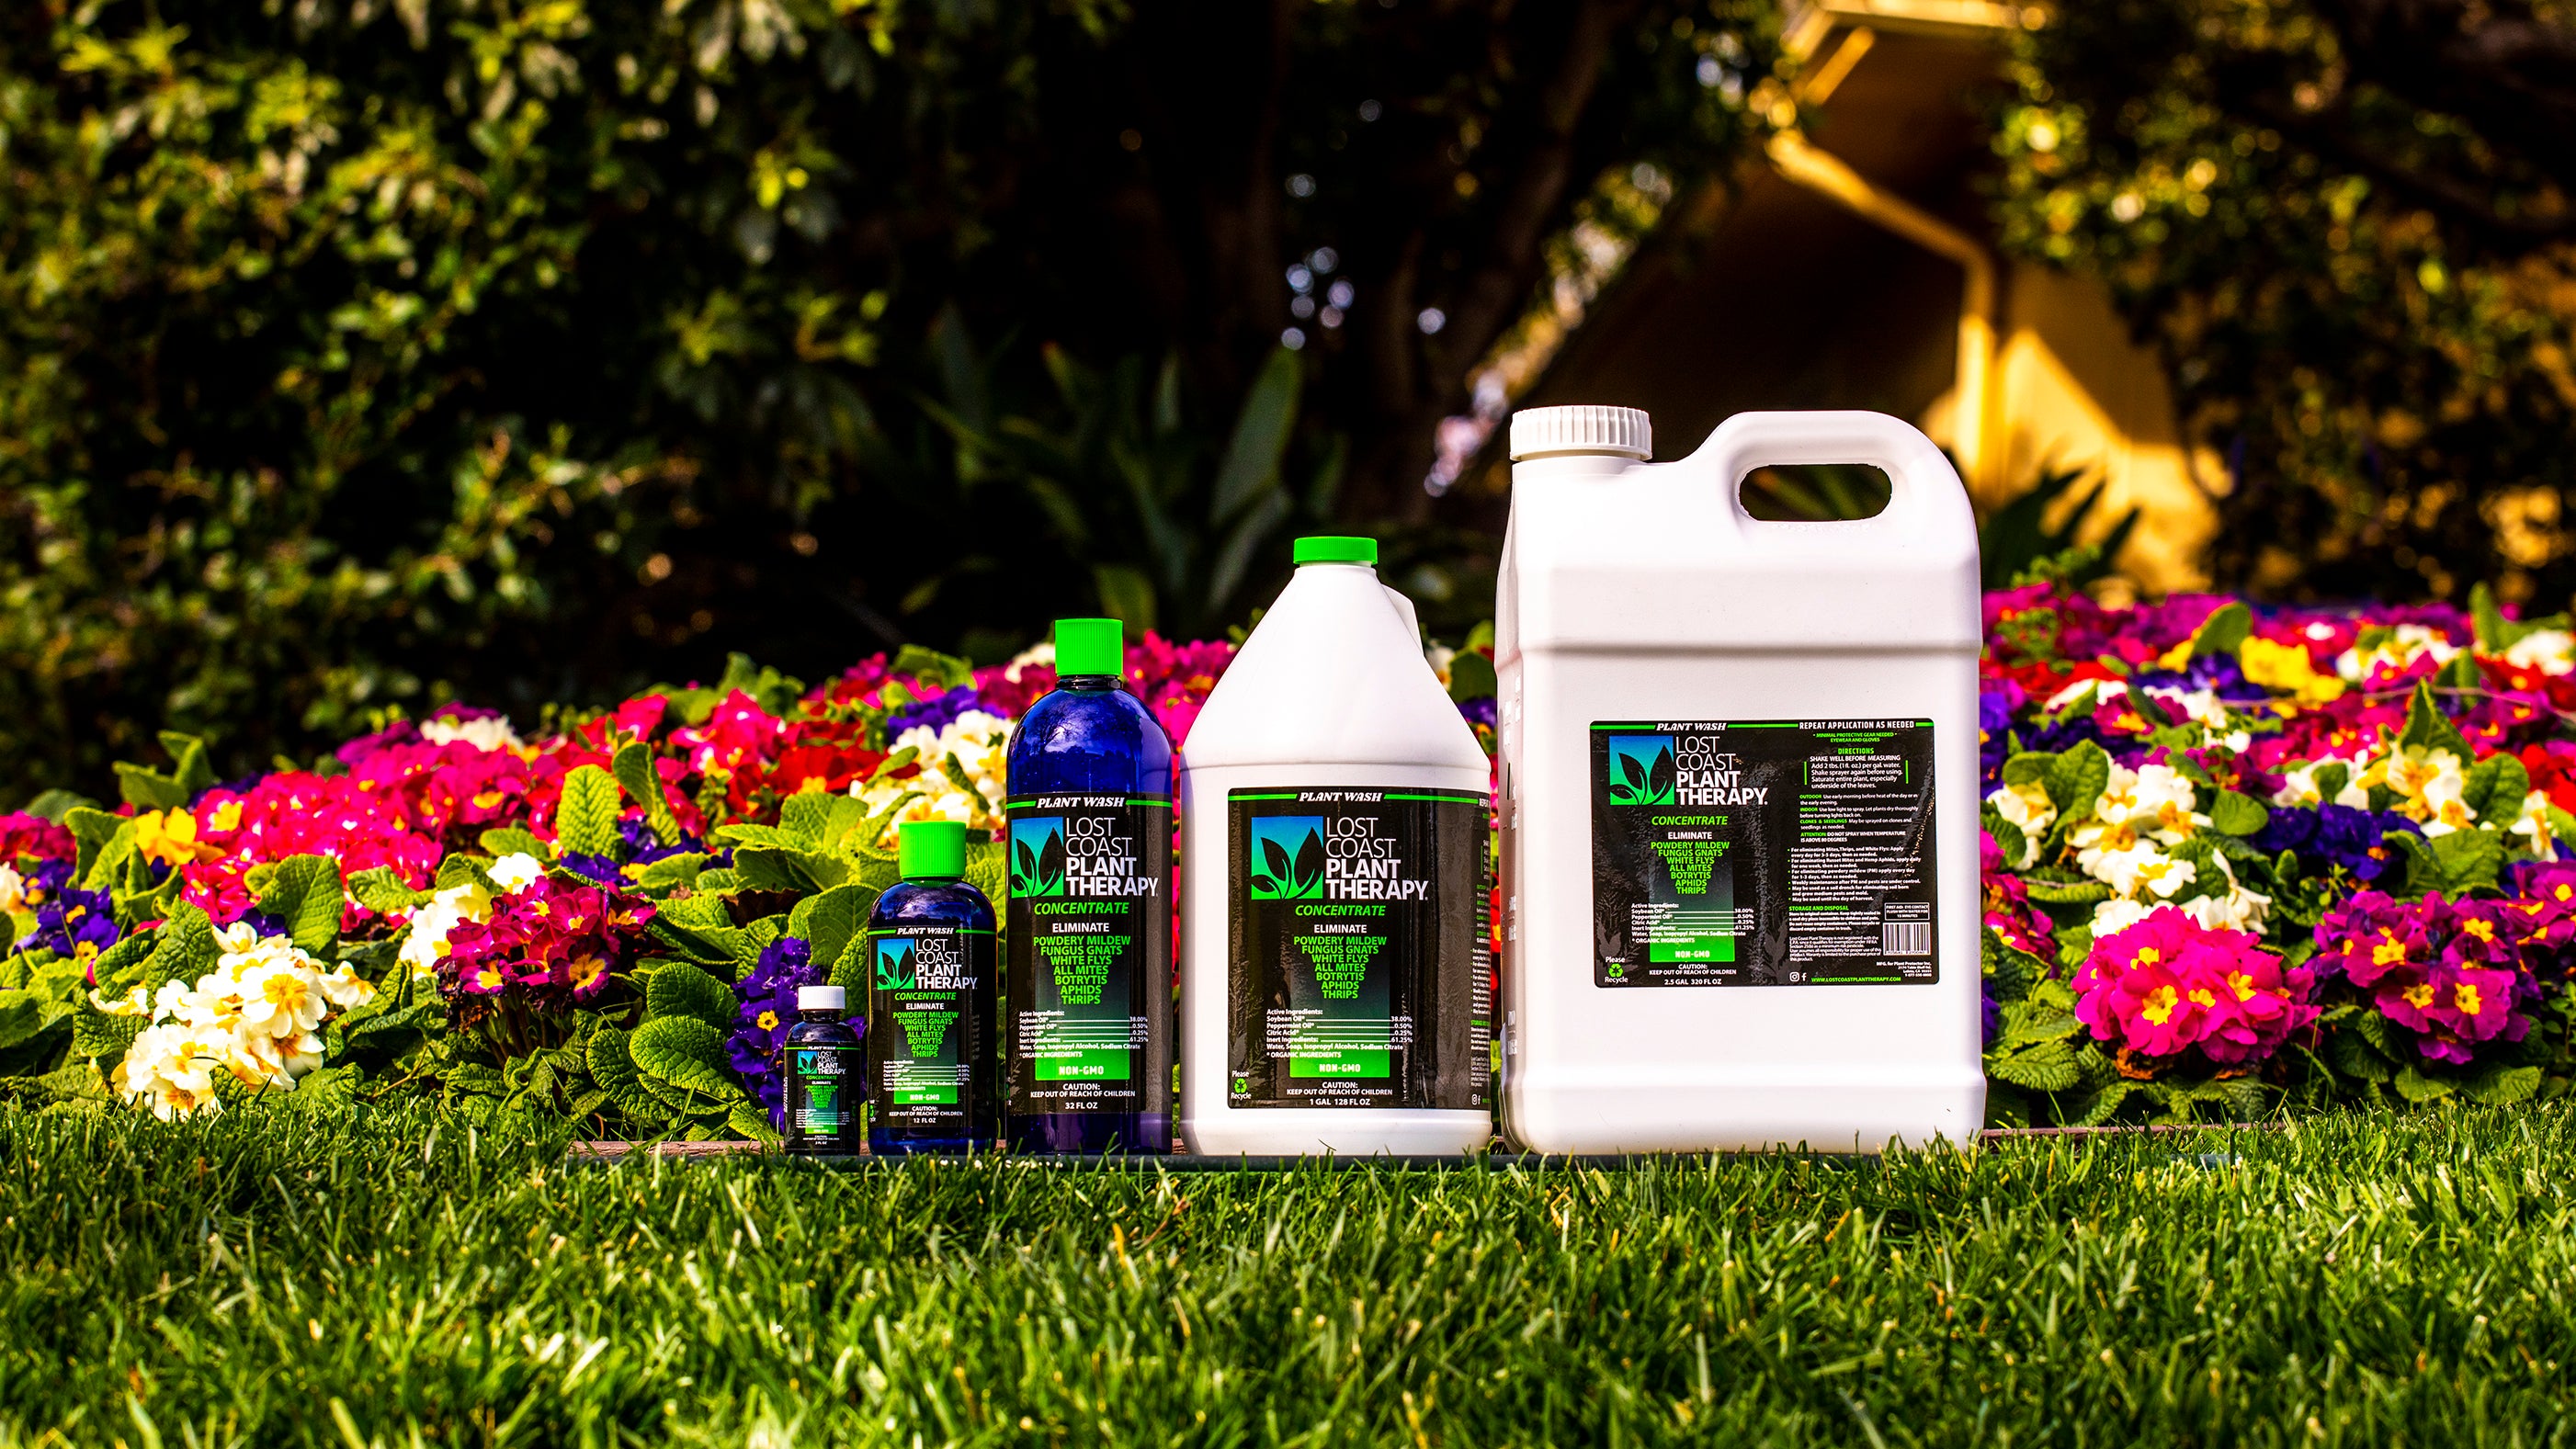
If your seed starting trays are in a garage, laundry room, or greenhouse, be mindful of humidity. It’s easy to overdo it. And if you see any signs of fungal growth or plant diseases like powdery mildew, that’s a good time to lightly spray the soil with our Natural Plant Protector to help balance the environment without harming those tender roots or disrupting germination.
You don’t need much to get started, just the right tools. In addition to classic trays, domes, and grow lights, here’s a little secret worth considering: soil blocking.
Instead of relying on flimsy plastic cells, soil blocking creates small, compact cubes of soil that you press your seeds into. It’s fantastic for airflow, encourages strong root development, and helps cut down on plastic waste. All you need is a simple blocking tool, a quality seed starting mix, and a tray to hold everything in place. It’s an old-school method that many gardeners swear by, and once you try it, you might never go back to six-packs.

Indoor Flower Seed Starting
Whether you’re a backyard grower or starting seeds with a flower farmer’s mindset, some flower varieties simply thrive when given a head start indoors. That’s because you can fine-tune the conditions (temperature, moisture, and light) to match the quirks of each seed.
Starting indoors gives you stronger stems, better spacing, and more consistent bloom succession. It’s also incredibly satisfying to see that tray of green, reaching up under your grow light, just waiting to begin its life in the garden.

Lisianthus
If you’re growing lisianthus from seed, you already know it’s not for the impatient. These seeds are some of the tiniest you’ll handle, and they take their time. In Zones 23 and 24, you’ll want to start them indoors as early as January because they require a long, cool growing period to reach blooming stage by summer.
Lisianthus needs light to germinate, so don’t cover the seeds. A clear humidity dome helps hold in moisture, but the soil should never be soggy, just barely damp, like a wrung-out sponge. Once seedlings have germinated, bottom water only, and keep your grow lights on a timer for 14–16 hours daily. They’ll look slow at first, but once they reach their second set of true leaves, they quietly put down strong roots.
Keep airflow moving gently around them, and if mildew shows up, a fine mist of Lost Coast Plant Therapy works beautifully at this early stage without disturbing growth.

Petunia
Petunias might seem simple once they’re blooming, but getting them there from seed takes a bit of know-how. These seeds need light to germinate, so you’ll want to surface-sow them onto pre-moistened seed starting soil and gently press them in with the back of a spoon.
They like warmth to start, so a heat mat set to 70–75°F helps speed germination without risking rot. You’ll usually see sprouts in 5 to 10 days, and from there, you’ll need to provide consistent light. Petunias love high light intensity and often get leggy if they don’t get enough, so make sure your grow lights are close, but not hot.
Start in smaller cell trays, around 72 cells is ideal, then pot up as needed once roots are visible. They don’t mind being moved as long as they’re handled gently. Also, these plants benefit from a little drying out between watering once they’re growing steadily. Just don’t let them dry completely, especially in warm rooms, or you’ll end up with stunted seedlings that never fully recover.

Celosia
Celosia is one of those flowers that feels like summer just looking at it, but to grow it well from seed in Zone 23/24, you’ve got to give it a strong, warm start. These seeds germinate quickly, often within 3 to 5 days, if you provide warmth with a heat mat and a consistent 75°F environment. Use a clear dome to hold in moisture until germination, and then remove it to avoid damping-off. Celosia doesn’t want rich soil at the beginning, just a clean, light seed starting mix and good drainage. Keep the lights on long and bright, and resist the urge to pot them up too quickly.
Let them fill their cell first. They transplant well once the weather outside is reliably warm and the soil temperature holds above 60°F. Water at the base and avoid letting water sit on the leaves. If you’re growing in a humid greenhouse, keep airflow steady to prevent issues.

Zinnia
Zinnias don’t need fancy conditions to germinate, just warmth, light, and space to grow. Start them in trays with 50 or even 36 cells so the roots have enough room. A heat mat at 70–75°F will get them up in just a few days, sometimes even less. These aren’t delicate seedlings, they like to grow fast, just make sure you don’t leave them in trays too long or they’ll get rootbound and sulky when transplanted.
Also, Zinnias don’t appreciate overhead watering, especially indoors. Water from below and make sure the foliage stays dry. If you’re using LED grow lights, keep them bright and about 2–4 inches above the seedlings. Zinnias can be pinched back after their second set of true leaves to encourage branching, but don’t rush it, let them develop some bulk first before pruning.

Bells of Ireland
Bells of Ireland are often overlooked because they’re not as flashy as other summer bloomers, but for structural height and green contrast in bouquets, they’re unbeatable. These seeds benefit from a chilling period before sowing, about 5 to 7 days in the fridge inside a dry paper towel works well. After that, sow them into deep trays, since their taproots appreciate the depth. A 72-cell tray works fine, but if you have root trainers or deeper modules, even better. They germinate best in cool soil, around 60°F, so skip the heat mat. These seedlings take their time to establish, and they absolutely hate wet feet.
Keep the moisture steady and let the surface dry slightly between watering. Bells grow tall and upright, so good airflow and bright overhead light are important to avoid bending and stretching. As they grow, gently brush the tops with your hand or run a small fan nearby to build strong stems before transplanting outdoors.

Chinese Aster
Chinese asters are a classic for late summer blooms, and they’re one of the most satisfying flowers to start from seed if you time it right. In Zones 23 and 24, start seeds indoors in March so they’re ready to transplant in April when the soil begins to warm. They need darkness to germinate, so cover the seeds lightly with fine seed mix. They germinate in about 5 to 10 days without needing bottom heat. Use a 72-cell tray, and once the second set of true leaves appears, move them into individual pots to prevent crowding.
Asters like even moisture but hate being soggy. Make sure your tray has good drainage, and try to water in the morning so the surface dries out by night.

Globe Amaranth
Globe amaranth is a heat-loving, pollinator-friendly, cut-and-come-again flower that thrives with an early indoor start. Begin seeds indoors by mid-March using a 50-cell tray or soil blocks to give the roots plenty of room to develop. These seeds don’t require light to germinate, so cover them lightly and keep the soil evenly moist. A heat mat set to 70–75°F will help speed up germination and get them growing strong from the start.
Once seedlings emerge, remove any dome and place them under bright light immediately to prevent stretching. Amaranth is sensitive to overwatering, especially early on, so we only water when the top of the soil feels dry. Once they have three to four sets of leaves, they’re ready to be hardened off and transplanted into well-draining soil in full sun.

Gallidaria
Gallidaria, or blanket flower, is a great pick for cut flower growers looking for something that holds up to heat and drought. Start seeds indoors in early March for transplanting by mid to late April. These seeds like to be sown just below the surface, about twice their size in depth, and prefer consistent warmth for germination. A heat mat at 70°F helps things along, but don’t overdo it. Use a 72-cell tray and allow the seedlings to stay in place until they develop strong root systems. Gallidaria doesn’t transplant well when disturbed too early. Once true leaves form, keep the air moving around them and water at the base only. These flowers appreciate full sun and are well-suited to spots in the garden where other plants may wilt.
As with most warm-season flowers, start them indoors early and give them time to toughen up before heading out into the garden. By the time your summer garden is in full swing, they’ll be thriving.

Outdoor Spring Sowing: Fast-Growing Cut Flowers
In Zones 23 and 24, the mild weather and warming soil give us a unique chance to grow cut flowers from seed outdoors without waiting for summer. These fast growers thrive when planted directly into prepared beds, making them ideal for anyone building out a cut flower garden or adding color to a vegetable plot. Whether you're planting in neat rows on a small flower farm or tucking seeds into a home plot, this is the time to sow your seeds and trust your zone.

Cosmos
Cosmos germinate fast, bloom abundantly, and can thrive on neglect once established. To get the most from them, sow seeds directly into loose soil where you want them to bloom. They don’t like to be transplanted, so it’s best to plant them outside right away. In full sun and average soil, cosmos can go from seed to bloom in about eight weeks. These flowers do especially well in border areas of the cut flower garden and make great companions for food crops like cucumbers. Their ability to grow fast and attract pollinators earns them a top spot in any spring garden.

Sunflowers
Start your sunflower seeds directly in the ground when soil temperatures hit the mid-60s. Choose the type of flower you want based on your space, single-stem giants for dramatic height or branching types for steady cutting. These seeds will germinate quickly, often within a week, especially in warm soil. Plant them outside about 1 inch deep and space them depending on the variety. For anyone trying to grow cut flowers, sunflowers are the definition of high impact, low fuss. They also anchor beds, support pollinators, and look right at home whether you're growing vegetables or creating a showy flower garden from seed.

Marigolds
Marigolds might be known as companion plants in veggie beds, but in a dedicated cut flower garden, they shine in their own right. Their fast germination, bold color, and natural pest resistance make them an easy favorite. Sow seeds directly about a quarter inch deep after the last frost, and within a week, you’ll see their sturdy little seedlings pop up. They tolerate a wide range of soil conditions, don’t mind heat, and bloom early and steadily throughout the season.
For flower growers, marigolds are ideal gap-fillers, perfect for tucking into open spaces between slower maturing blooms or planting in succession for color that lasts. Their blooms hold up surprisingly well in arrangements, especially the smaller varieties, and the scent helps mask more delicate flowers from pest pressure. Deadhead regularly to keep them producing nonstop, and don’t be shy about drying a few for herbal uses or seed saving. They're low-fuss, high-reward, and endlessly generous, the kind of flower every garden should make room for.

Strawflower
Strawflowers are long-lasting, versatile, and absolutely unbeatable for drying. Their papery petals retain color beautifully, making them perfect for everlasting arrangements, wreaths, and late-season bouquets. These resilient bloomers thrive in Zones 23 and 24, especially in well-drained spring beds where the soil warms early.
Sow the seeds directly on the surface of moist soil, and don’t cover them, they need light to germinate. A humidity dome can help early on, but remove it once sprouts appear to prevent damping off. Strawflowers are well-suited for succession sowing. Spacing is key. give each plant enough room to breathe, and you’ll be rewarded with tall, upright stems that are easy to harvest. They play beautifully alongside other structural or textural blooms and are especially useful for adding height and a crisp, unique texture to fresh bouquets. Pinching them when they reach 4–6 inches tall will encourage branching and lead to more usable stems throughout the season.

How to Move Seedlings Outside Without Shock
Once your seedlings start looking strong, it’s tempting to plant them outside right away. But the shift from indoor trays to garden beds is a delicate one. A little too much sun, wind, or cold at the wrong moment, and they can stall or struggle. That’s why the hardening-off process and transplant timing matter so much.
Seedlings that have been growing under LED lights or near a sunny window aren’t ready for full exposure to wind and sun just yet. Hardening off is about gradually easing them into outdoor life. For about 7 to 10 days, move your trays or pots outside for a few hours each day. Start in partial shade and increase both light and exposure time daily. The goal is to avoid shock, not just to their leaves, but to their internal systems that have only known stable indoor conditions.

Transplanting Seedlings
When you’re ready to start planting seeds or transplanting seedlings into the garden, look at your soil and weather. Forget the average last spring frost date for a moment and trust your conditions. Warm, crumbly soil and consistent mild evenings tell you it’s time. If your plants from seed have two or three sets of true leaves, firm stems, and are no longer stretching toward their light source, you’re probably ready to plant them outside.
Make sure you give them room to grow in the garden. Seedlings that were comfortable in trays now need airflow and spacing that supports long-term health. Gently remove them from their tray or pot, keeping the root ball intact. Place them at the same depth they were growing before, unless you're working with something like tomatoes, which benefit from being buried a bit deeper to support stronger roots.
For flowers and vegetables alike, it helps to cover the seeds or seedling bases with a light layer of mulch or compost to help retain soil moisture. After transplanting, water slowly and deeply. Avoid overhead watering if the foliage is still adjusting, bottom water is best for this stage, just like it was indoors. If pests show up during this transition, or if the leaves look vulnerable to mildew, spraying with a natural and organic pesticide like Lost Coast Plant Therapy can offer a gentle, supportive layer for without disrupting tender new growth.

Succession Sowing
One of the best ways to stretch the life and beauty of your garden is to not plant everything all at once. Succession sowing means spreading out your planting dates, by a week or two, so that everything doesn’t bloom or ripen at the same time. This works for both flowers and vegetables and makes a huge difference in keeping your beds full and manageable.
It’s especially helpful when you’re growing cut flowers from seed. Instead of having all your zinnias, sunflowers, or cosmos bloom at once, you can sow your seeds in stages and enjoy steady color all season long. This method also makes transplanting easier. You’re not trying to plant 50 seedlings on one weekend. Instead, you’re always working with the next round. This way, even with many seeds in rotation, your garden stays balanced, not overwhelming.

Seed Storage and Planning Ahead
If you’re planting in stages, seed care becomes just as important as soil prep. After opening a seed packet, be sure to store your seeds in a dry, cool spot away from sunlight. A simple plastic bin or sealed envelope in the garage works well if temperatures are steady. Label each packet clearly with the date and note how many rounds you’ve done. That way, you’re not replanting the same bed twice or mixing up varieties.
Keeping track of what you’ve planted also helps reduce weed seeds taking over empty spots. If you’re planning to sow your seeds again in a few weeks, you’re less likely to leave space unattended. Many seeds are viable for multiple seasons, so a little extra care in how you store and track them means less waste, better germination, and more success.
Plus, seeds that are stored properly tend to germinate more evenly, which leads to stronger, more consistent seedlings, especially important if you’re starting your own flowers or managing a tight crop schedule. And when it’s time to sow your seeds again, your setup is already in place. It becomes a rhythm that’s easy to maintain week after week.

Conclusion
Spring doesn’t ask you to do everything at once. It just asks you to start. One tray, one patch of soil, one type of flower that you’ve always wanted to grow from seed, this is the season to lean into those small beginnings. For flower farmers, home growers, or anyone curious about starting their own garden, spring gives us a chance to pace ourselves and grow with the season.
For those of us gardening in Zones 23 and 24, spring starts early, and that’s our advantage. It gives us time, not to rush, but to be intentional. We can try new approaches, stagger our plantings, and learn as we go, without the pressure of a short season.
And if you’ve been feeling unsure, wondering if you started your seeds too early, or if you missed the ideal week to sow, that’s okay. The rhythm of gardening is flexible. It forgives, it teaches, and it keeps moving forward. We’re all still learning. That’s the beauty of it.
Stay curious. Pay attention. Try things, take notes, and let your garden teach you. When you take the time to plan with intention, you’re not just planting seeds, you’re planting rhythms. And those rhythms shape everything, from what blooms when to how you feel walking through your backyard.

FAQ's
How do I start seeds indoors for a cut flower garden?
Starting flowers from seed indoors is one of the best ways to get a head start on your cut flower garden, especially if you're working with annual flowers or varieties that need a longer season. Use clean seed trays, a lightweight starting mix, and place 1–2 seeds per cell. Most tiny seeds require surface sowing or just the lightest cover of soil. Once seeds have germinated, move trays under a grow light to keep seedlings compact and healthy. This method works beautifully for floret flowers and other slow growers you won’t find at your local nursery.

What’s the best seed starting setup for beginners?
A simple seed starting setup includes a tray with cells or small pots, a humidity dome if needed, and a warm space with steady light. Many flower farmers and home growers use LED or fluorescent lights hung a few inches above the tray. Bottom watering is a must once seeds have sprouted, especially for sensitive flower seeds indoors. Seed starting 101 tip: don’t overcrowd. Start your seeds in small batches so you can monitor germination and care without being overwhelmed.

When should I use a heat mat when starting seeds?
Use a heat mat during germination only if your home or greenhouse stays cool. This extra warmth encourages faster seed germination for heat-loving varieties like zinnias and cosmos. Once the seeds have germinated, remove the mat to avoid spindly growth. A good rule of thumb is to monitor your tray daily, once you see the first sprouts, shift the focus to air circulation and light. Not all seeds require heat, so always check the type of seed first.

Do I need a greenhouse to grow cut flowers from seed?
You don’t need a greenhouse, but it’s helpful, especially in Zones 23 and 24 where an unheated greenhouse can mimic outdoor conditions while still offering protection. Starting cut flower seeds inside the greenhouse helps toughen up seedlings slowly. This is especially helpful with sensitive types that don’t love being moved. If you’re not sure where to start, try sowing hardy annual flowers first and use the greenhouse as a hardening-off zone later. See our article on greenhouse gardening here.

How deep should I plant seeds?
The depth depends on the type of seed. A simple rule of thumb is to plant the seed twice as deep as it is wide. Tiny seeds like snapdragons or foxglove often need to be pressed into the surface and not covered at all. Larger seeds like sunflowers or beans can be buried deeper. Overplanting is a common mistake, so double-check your seed packet, or better yet, keep a seed depth chart in your potting area for reference.

How often do I need to water seed trays?
You’ll need to water more frequently while seeds are germinating, especially in warm or dry conditions. Use a fine mist until the seeds have sprouted, then bottom water to avoid damping off. Seed trays dry out faster under grow lights or in direct sun, so check moisture daily. The goal is to let the soil soak up the water from below but never sit in soggy conditions. Once seedlings have true leaves, you can reduce watering slightly depending on the plant.

What’s the ideal light for starting flower seeds indoors?
Seedlings need 12–16 hours of bright, direct light to stay compact and strong. If you don’t have a bright window, you’ll need LED or fluorescent lights placed just a few inches above the canopy. If your seedlings lean or stretch, it’s a sign they’re not getting enough. For anyone growing cut flowers from seed indoors, especially floret flowers, investing in the right light setup early makes a big difference in plant quality later on.

How do I know when to transplant my seedlings outside?
Once your seeds have sprouted and grown 2–3 sets of true leaves, they’re ready to be hardened off. This means gradually exposing them to outdoor light, wind, and temperature over 7–10 days before planting seeds or seedlings in the ground. Don’t rush this part, plants can be easily shocked if conditions change too quickly. Transplant only after the last spring frost date and when the soil feels warm to the touch.

Can I grow flowers from seed if I don’t have much space?
Absolutely. You can grow flowers in pots, trays, or even tucked between veggies. Starting your own flowers gives you flexibility, and many annuals thrive in containers. Pick one type of flower to start, and expand as you learn what grows best in your conditions.
See more FAQ's here.

Additional Resources
Starting Plants From Seed for the Home Gardener - University of Georgia Extension
Companion Planting in Home Gardens - University of Minnesota Extension
Succession Planting - West Virginia University Extension
Starting Seeds Indoors - University of Maryland Extension
Hardening Off Vegetable Seedlings for the Home Garden - University of Maryland Extension
Saving Vegetable Seeds - University of Minnesota Extension
Germinating Seeds - West Virginia University Extension
An Introduction to Cut Flower Production - South Dakota State University Extension
Seed Starting Demystified - Penn State Extension
Collecting and Storing Seeds from Your Garden - Oregon State University Extension