
Eggs
Small pale, translucent, or neatly arranged eggs can be easier to spot than adults. Use magnification and note exactly where they are attached.

What to check before a small plant problem spreads, from subtle stippling and sticky residue to eggs, cast skins, frass, webbing, hidden insects, and the places pests use for cover.

Fine stippling, slightly distorted new growth, sticky honeydew, white cast skins, tiny pale eggs, dark specks of frass, silver scarring, fine webbing, ants, and moving specks under magnification are all clues worth following. None of them should be treated as a diagnosis by itself.
A good habit is to compare the damaged plant with a healthy one, inspect the same plant zones in the same order, and separate live pests from old evidence and environmental damage. Once the pest is confirmed, the treatment decision becomes much easier.
| What you see | What it can mean | Where to look | Best confirmation | Common look-alike | Next step |
|---|---|---|---|---|---|
| Fine pale stippling | Mites or other cell-feeding pests | Leaf underside | Moving mites, eggs, webbing | Dust, nutrient or water stress | Use magnification |
| Sticky shine | Honeydew from sap feeders | New growth, undersides, stems | Aphids, whiteflies, mealybugs or soft scale | Water or foliar residue | Follow the sticky trail |
| White cast skins | A molting insect colony was present | Near veins and tender growth | Live insects nearby | Mineral residue or debris | Check fresh growth |
| Black specks / frass | Thrips or chewing insect evidence | Damaged leaves, flowers, folds | Live pest plus matching feeding | Soil splash or disease spots | Inspect protected tissue |
| Fine webbing | Spider-mite pressure | Leaf undersides, nodes, stems | Tiny moving mites and eggs | Ordinary spider web | Compare several leaves |
| Silver scarring | Thrips or abrasive feeding injury | Leaves, buds, flowers | Slender insects plus dark specks | Wind, rubbing, sun injury | Open folds and blooms |
Start with the evidence, then find the current feeding site. A sticky leaf should send you upward toward a sap feeder. Black specks on silvered tissue should send you into flowers, folds, or leaf undersides. Fine webbing should have you checking underneath the leaf with a hand lens.
Small pale, translucent, or neatly arranged eggs can be easier to spot than adults. Use magnification and note exactly where they are attached.

Aphids often leave pale shed skins around feeding sites. They are a strong clue that a colony was active nearby, even if the living insects are tucked deeper into the plant.

Shiny stickiness can point to aphids, whiteflies, mealybugs, psyllids, or soft scales. Ants and sooty mold often help you trace the source.

Thrips often leave tiny dark specks on scarred leaves or petals. Larger chewers may leave pellets. Pair the waste with the shape of the feeding damage.
Stippling is a field of tiny pale dots where feeding has removed cell contents. Spider mites are a classic cause, people often notice stippled or yellow leaves before they find the mites themselves.
Silvering or scraped-looking tissue can move thrips higher on the list, especially when dark fecal specks appear in the same area. Distorted new growth deserves a close inspection because small mites, thrips, aphids, environmental injury, and plant disease can overlap visually.

Side-light leaf undersides, nodes, webbing, wax, and small eggs. A beam from the side often reveals texture that flat room light hides.
Useful for spider mites, eggs, whitefly nymphs, scale crawlers, and other pests that look like dust or dots to the naked eye.
Tap or shake a suspect leaf over white paper when mites or thrips are possible. UC IPM specifically recommends this method for closer mite inspection.
Useful for flying whiteflies, fungus gnats, winged aphids, and thrips. Treat the card as a monitoring clue, not a substitute for inspecting plants.
Zoom in, document the same leaf over time, and compare new damage with old scars. Photos also make Extension or diagnostic help more useful.
Yellow or blue sticky cards can reveal flying adults such as whiteflies, fungus gnats, winged aphids, and thrips. In greenhouse production they are useful for tracking changes over time and finding areas where adult activity is increasing.
Mites, scale, mealybugs, non-winged aphids, whitefly immatures, eggs, and pests hidden inside flowers or leaf folds may never show up on a card.
UC IPM recommends keeping traps near the top of the plant canopy when monitoring a broad range of flying pests. For fungus gnats and shore flies, horizontal placement near the growing medium can be useful.


A new plant can look clean and still carry eggs, tiny nymphs, mites, scale crawlers, or insects hidden in folds and pot crevices. University of Minnesota Extension recommends isolating newly acquired indoor plants for one to two weeks so pest problems have time to become visible.
Build pest checks into routines you already do. For indoor plants, University of Minnesota recommends checking when you water, fertilize, or clean. Outdoor plants deserve extra attention when tender growth is expanding, after bringing new plants home, and whenever a fresh symptom appears.
Dense plant spacing and steady protected conditions make consistency especially important. UMass greenhouse IPM guidance emphasizes recording pest numbers and locations and reviewing scouting records weekly.
Notice stippling, stickiness, webbing, silvering, frass, cast skins, eggs, or fresh distortion.
Follow the clue into the hiding place where the pest is most likely to be feeding or developing.
Use live insects, life stage, damage pattern, and location together instead of guessing from one symptom.
Decide whether the issue is an exposed soft-bodied pest, a disease, a chewer, a root problem, or environmental injury.
Match the response to the pest and its feeding site. Hidden borers and chewing pests require different strategies from exposed aphids or mites.
Return to the same leaves and new growth. New damage and live pests tell you whether pressure is still active.
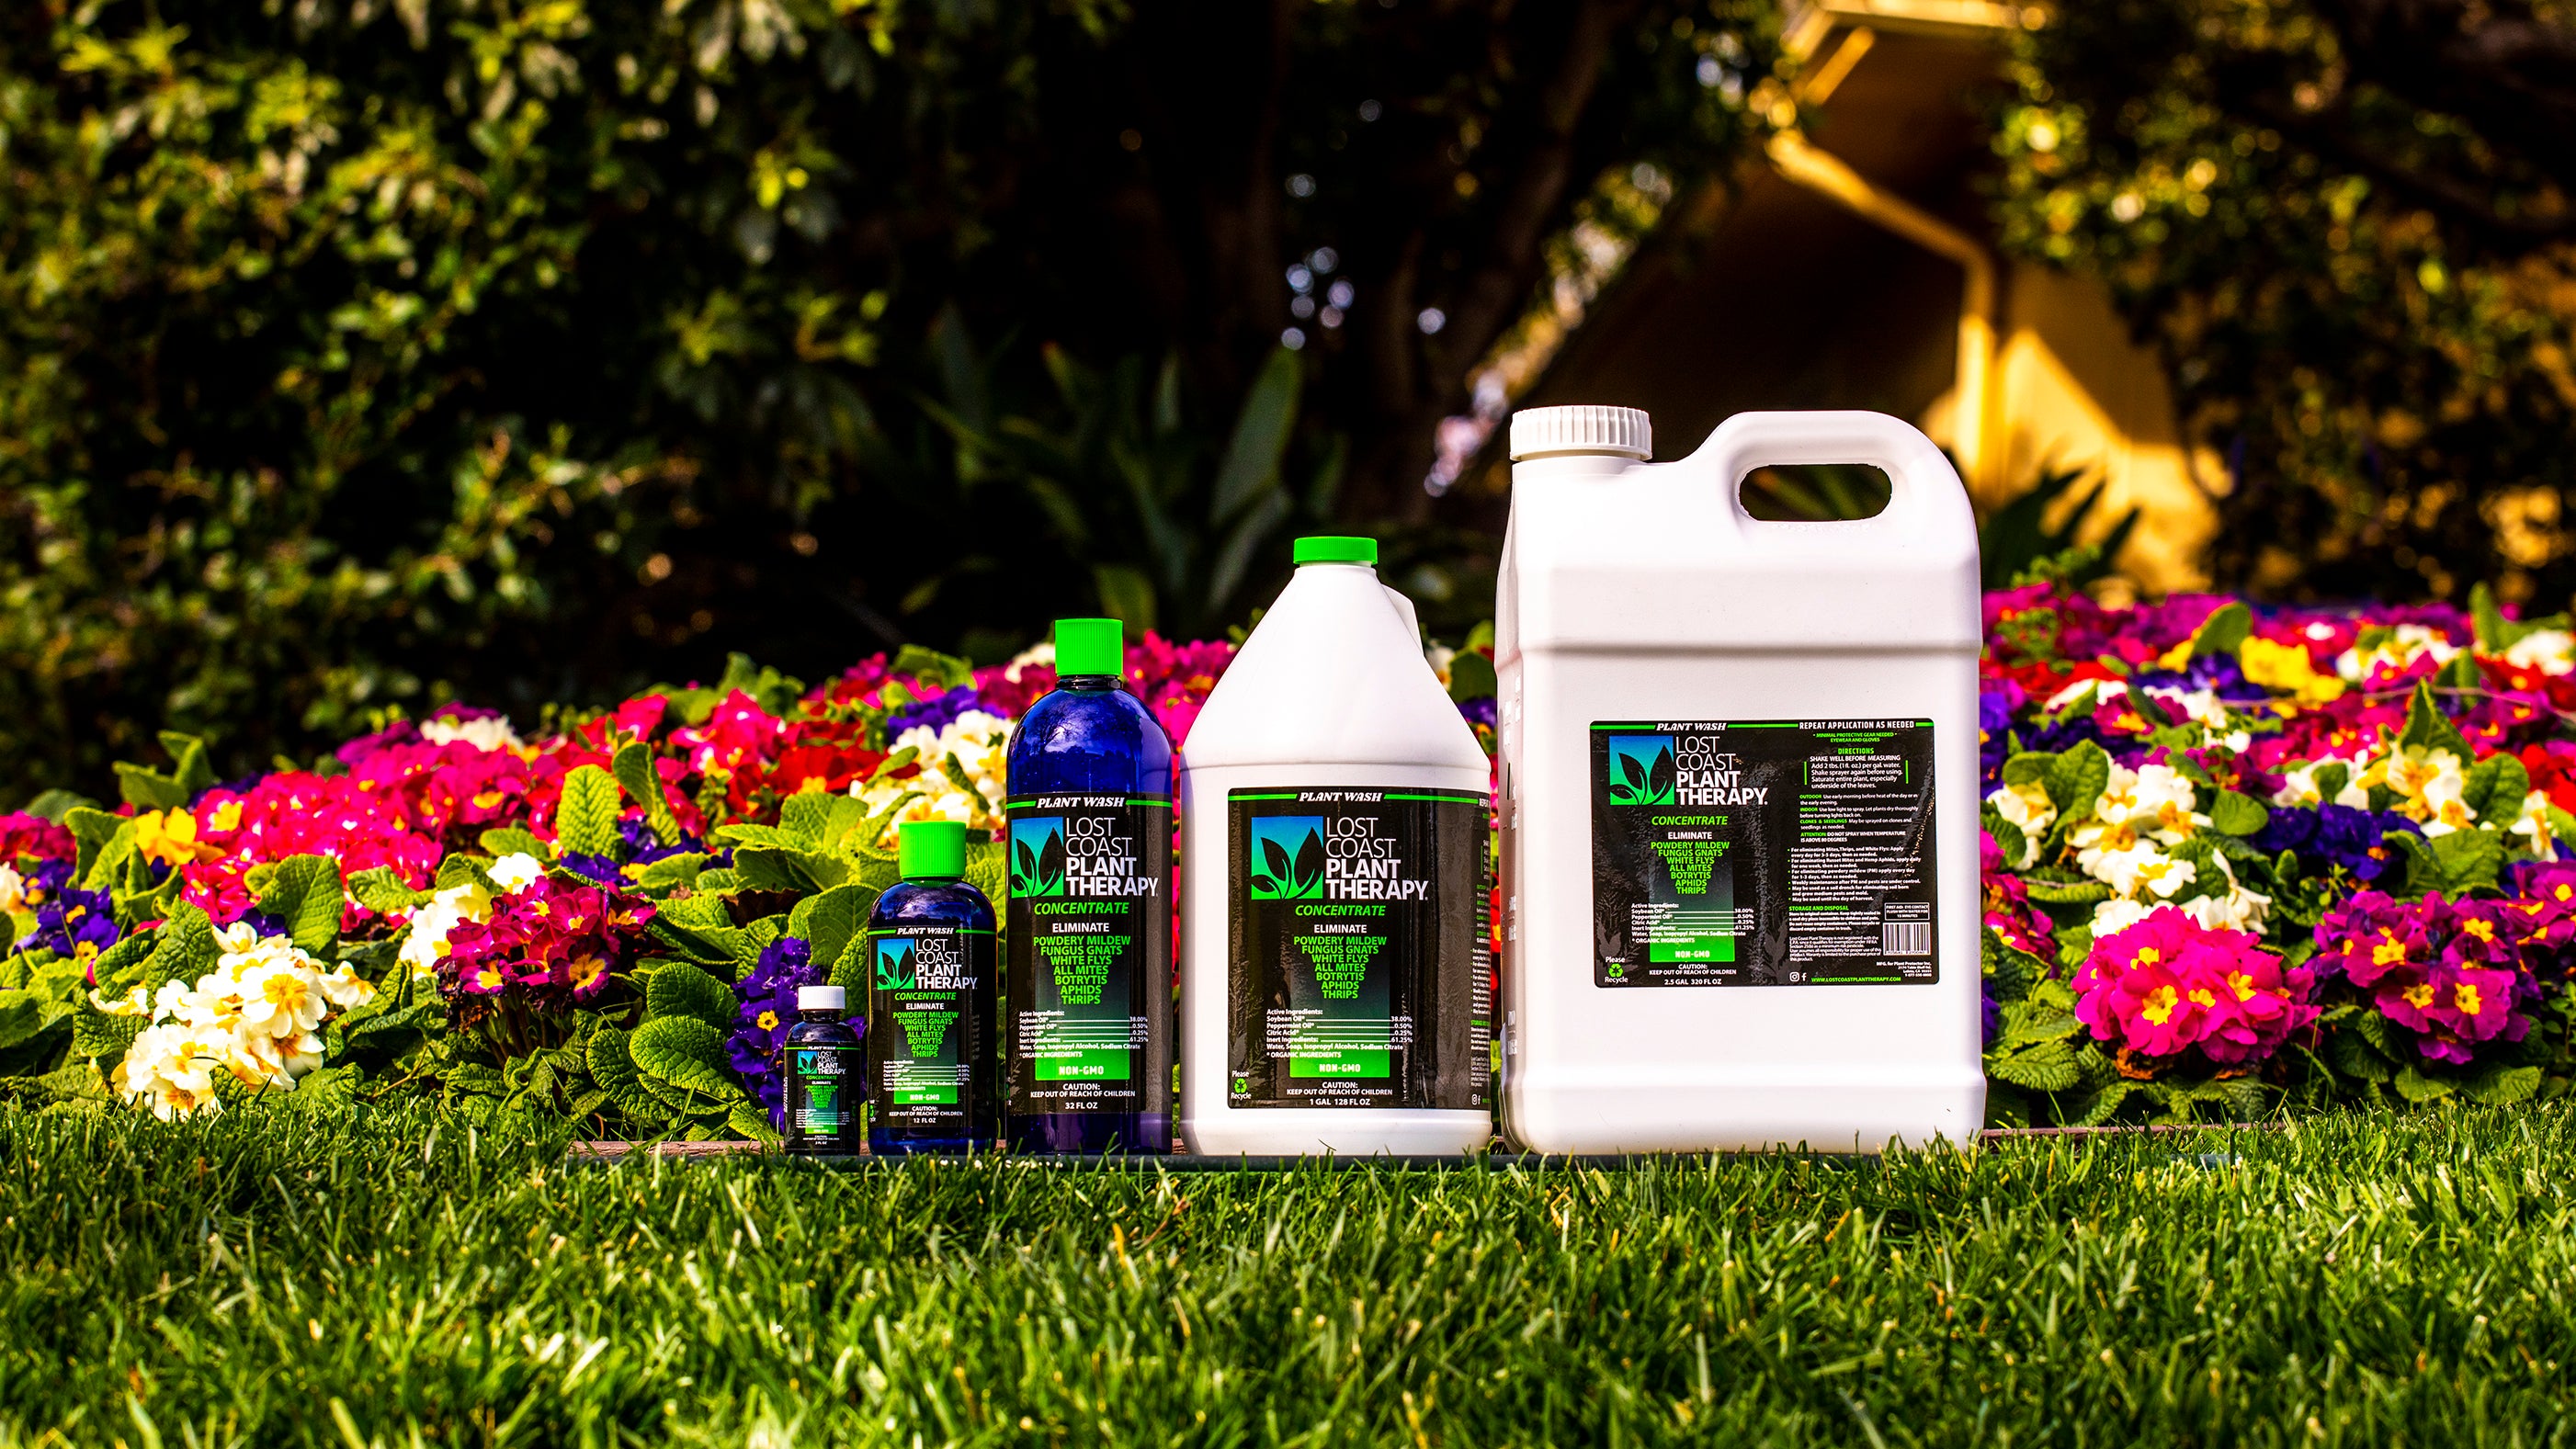
Lost Coast Plant Therapy is a minimum risk pesticide made with natural and organic ingredients. Once inspection confirms an exposed soft-bodied pest such as aphids, thrips, spider mites, whiteflies, mealybugs, scale crawlers, or another approved target, it can help control them.
Because it controls supported pests through direct contact, inspection and coverage belong together. Make sure to saturate the entire plant, especially leaf undersides and stems, and repeat as needed. Always test on a single plant first and follow the application directions on your bottle.
Large chewing damage, internal borers, unrelated root problems, environmental injury, and diseases outside product scope need their own management path.

These are the practical questions that come up when a plant looks wrong but the pest itself is still difficult to find.

Early signs can include fine stippling, distorted new growth, sticky honeydew, pale eggs, cast skins, black specks of frass, silver scarring, fine webbing, ants visiting the plant, or moving specks on leaf undersides. Often the damage or evidence appears before the pest itself is obvious.
Common hiding places include tender new growth, buds and flowers, leaf undersides, nodes and leaf axils, stems, pot rims, the soil line, and moist growing media. Which area matters most depends on the pest and the plant.
Look for changes in the plant rather than waiting for a visible insect. Fine pale stippling can suggest mites, silver scarring and black specks can suggest thrips, curling plus sticky residue can suggest sap-feeding insects, and distorted tender growth can justify a close inspection for aphids, thrips or tiny mites.
Stippling is a pattern of many tiny pale dots caused when small pests feed on individual plant cells. Spider mites are a common cause, but other pests can create similar speckling, so inspect the underside of the affected leaf before deciding.
Honeydew is a shiny, sticky sugary waste produced by sap-feeding insects such as aphids, whiteflies, mealybugs and many soft scales. It can collect on leaves or surfaces below the plant, attract ants and support black sooty mold.
Cast skins are the pale shed outer coverings left behind when insects molt. Aphid colonies commonly leave white cast skins near active feeding sites, and mite or leafhopper evidence can also include shed skins. Pair them with current damage and a close inspection.
Frass is insect waste. It can appear as dark specks, pellets or debris depending on the pest. Thrips feeding often leaves tiny black varnishlike specks on damaged tissue, while larger chewing insects may leave more obvious pellets.
There is no single interval for every plant. For indoor plants, inspect whenever you water, fertilize or clean them. In greenhouses and dense plantings, use a consistent routine and review problem areas at least weekly, with extra checks after new plants arrive or when a hot spot is found.
Yes. University of Minnesota Extension recommends isolating newly acquired houseplants for one to two weeks so pest problems have time to become visible. Inspect the leaves, stems, pot rim, container and growing medium before the plant joins the rest of the collection.
Sticky cards are useful for detecting and monitoring flying adults such as whiteflies, fungus gnats, winged aphids and thrips. They do not replace direct plant inspection because mites, scale, mealybugs, immature whiteflies and many hidden life stages may never appear on a card.

Mixes with water to create 12 gallons of application spray.

Mixes with water to create 32 gallons of application spray.

Mixes with water to create 128 gallons of application spray.

Mixes with water to create 320 gallons of application spray.
Your cart is currently empty.
Not sure where to start?