
Growing the best tomatoes starts with understanding the plant in front of you. Some tomatoes grow tall and keep producing all season, while others stay more compact and set most of their fruit in a shorter window. That one difference changes how you plant, prune, support, water, feed, and harvest them. Once you know which type you are growing, tomato care becomes much easier to understand, and the whole season feels a lot less like guesswork.
The real key is that there is no single right way to grow tomatoes, because tomatoes do not all grow the same way. They split into two main groups that often need very different care, and once you learn to tell them apart, the advice you hear about planting, pruning, watering, feeding, and harvesting starts to make much more sense. This guide walks you through each step so you can grow stronger plants, avoid common mistakes, and bring more flavorful tomatoes from your garden to your table.
We will also cover how to protect your plants from common pests and disease pressure before they take over. With regular plant checks, smart watering habits, good airflow, and our Natural Plant Protector when trouble shows up, you can control pests and support healthier tomato plants without disrupting the balance of your garden.

Determinate vs Indeterminate Tomatoes
Determinate tomatoes are compact and bushy and set their crop in one short window. Indeterminate tomatoes are vines that keep climbing and fruiting until frost. Almost every decision, from pruning to support to feeding, should flow downhill from knowing which of the two is standing in your garden.
Determinate (Bush) Tomatoes
Determinate tomatoes grow to a genetically set size, then stop. They flower and ripen most of their crop in a short, predictable burst, which is exactly what you want for canning, sauce, or a single big harvest weekend. Their suckers often turn into productive fruiting branches, so stripping them off can cut your yield without you realizing it. These plants do best with a strong tomato cage set early and only the lightest tidying, and they are the friendlier choice for pots and small spaces.

Indeterminate (Vining) Tomatoes
Indeterminate tomatoes never get the memo to stop. They keep extending, flowering, and setting fruit for months until frost, disease, or your pruners end the run. That long season is a gift, but they need strong support, ongoing tying, selective sucker removal to keep air moving, regular feeding to fuel constant growth, and a topping cut late in the year so the plant ripens what it has instead of starting fruit it can never finish. Most beefsteaks, many cherries, and the classic heirloom tomato slicers fall into this group.

How to Tell Which One You Have
Check the seed packet or plant tag first, since the type is almost always printed there. No tag? Watch the growth habit. A plant that stays knee to waist high, gets wide and bushy, and flowers heavily all at once is a determinate. A plant that keeps reaching upward, sends out a leader that will not quit, and flowers in waves up the stem is indeterminate. When in doubt, treat a mystery plant as indeterminate and give it good support. Too much structure rarely hurts. Too little always does.

Picking the Right Tomato Varieties
The best tomato is not a single famous variety. It is the one that fits your climate, space, disease pressure, and how you plan to eat the fruit. Cherry tomatoes ripen earlier, crop more reliably, and grow fast, which makes them some of the easiest to grow.
Paste types earn their keep for sauce and preserving. Slicers and beefsteaks deliver incredible flavor, but only with strong support and steady water. Early-maturing varieties come in ahead of the pack, which is gold in a shorter growing season. Above all, choose tomato varieties known to do well in your growing conditions.

It helps to picture real examples. On the determinate side, classics like Roma, Celebrity, and many bush patio types stay compact and crop in a tight window. On the indeterminate side, cherry favorites like Sungold, big slicers like Big Beef, and beloved heirlooms like Brandywine climb and produce all season. You do not have to memorize a list, but recognizing a few names helps you guess a plant's habit when the tag is missing.

If you see the words disease resistant on a packet, this can save you from a season of frustration. If the same problem flattens your plants every year, a resistant variety solves it before it starts. Those packets often carry a short code of capital letters after the variety name, such as V, F, N, or T, each one flagging resistance to a specific disease like verticillium or fusarium wilt, nematodes, or tobacco mosaic virus.
Matching those letters to the problems common in your area is one of the most effective choices you can make. Crack-resistant types help wherever watering is hard to keep even, and growing two or three kinds spreads your risk and keeps something ripe for longer. If your native soil is heavy with disease, a grafted tomato, which joins a flavorful top variety to a tough, resistant rootstock, can outperform an ungrafted plant in the same ground.

How to Grow Tomatoes From Seed
You can buy transplants, but growing tomatoes from seed opens up far more varieties and costs a fraction as much. Seed starting indoors is the standard approach, since tomatoes need a long, warm season that most climates cannot provide from an outdoor sowing.
Start your tomato seeds indoors about 6 to 8 weeks before your last expected spring frost. Sow them shallowly in a moist seed-starting mix, keep them warm until they sprout, and once they do, give them strong light right away. A sunny south window can work, but a simple grow light placed close to the seedlings prevents the tall, weak, stretched growth that low light causes. Keep the soil lightly moist, never soggy, and run a small fan or brush the seedlings gently now and then, since a little air movement builds sturdier stems.

As each tomato seedling grows, step it up into a larger pot if it outgrows its cell, burying it a little deeper each time to build roots along the stem. When the seedlings are stocky and the outdoor timing is right, they are ready to harden off and move out, which is exactly where the next step picks up.
If you would rather grow tomatoes indoors all the way to harvest, that is its own project, and our guide on how to grow tomatoes indoors here walks through the light and pollination tricks that make it work.

Setting Tomatoes Up Before They Ever Hit the Ground
Tomatoes are warm-season plants. They sulk, stall, and invite trouble in cold soil or a late frost, so getting the planting time right matters more than rushing the season.
Before a seedling moves outside for good, it needs to harden off. Set young plants outside in a sheltered, shadier spot for a short stretch the first day, then gradually increase sun exposure and time outdoors over several days. A week to ten days is a good window, and bringing plants in at night early on protects them from cold.
Watch out for harsh midday sun, which can scorch tender indoor-grown leaves, and wind, which can snap soft stems before they toughen up. This slow introduction toughens leaves and stems so the transplant does not go into shock. Wait until all danger of frost has passed and the soil has warmed, then plant your tomato transplants, and cover them overnight to protect them from a surprise cold snap. A strong, unstressed start is one of the simplest ways to reduce disease and pest vulnerability before either gets a foothold.

The Tomato Trick Most Crops Don't Allow
When you plant a tomato deep, every bit of buried stem sprouts new roots, building a larger, stronger root system that drinks and feeds far better than a shallow one. You can bury up to roughly two-thirds of the plant, so only the top third sits above soil level, which is a lifesaver for tall, leggy seedlings that would otherwise flop.
Strip off the lower leaves first, since you never want foliage buried where it will rot. If your soil is shallow, cold, or rocky, lay the plant on its side in a shallow trench and gently curve the top up, the buried portion still roots, and the tip straightens toward the sun within days. This is a tomato specific trick, so do not bury the rest of your vegetables this way.

Sun, Spacing, and Airflow
Tomatoes like full sun, and lots of it. Give them at least 6 to 8 hours and they reward you. Give them shade, and you get tall, weak plants with thin harvests. The one exception is a genuinely brutal climate, where a little afternoon shade during peak summer heat can protect fruit from scald and ease the heat stress that stalls fruit set.
Spacing matters just as much, and it is where eager gardeners go wrong. Crowded tomatoes are harder to prune, water, inspect, and pick. Plus, the still, humid air trapped against the leaves is exactly where foliage becomes susceptible to disease and where whiteflies, spider mites, and aphids hide long enough to multiply. Good spacing keeps air circulation strong, dries leaves faster after rain, and lets light reach the lower fruit. You can fit more plants into less growing space, but only if support and pruning keep that tighter planting open and breathing.

Support Systems: Cages, Stakes, Trellises, and Clips
Support is not optional, and it should go in early, ideally at planting, because adding it later means wrestling a sprawling plant and snapping stems.
Several systems work well. Sturdy tomato cages suit bushy determinates and contain them neatly. Single stakes and the Florida weave, which runs twine between posts down a row, handle staked rows efficiently. Trellises and string support shine for tall indeterminate vines, letting you train a plant straight up with tomato clips or soft ties.

The goal is to support the plant without squeezing it. Tomato stems thicken as they grow, and a tie that feels loose in June can start cutting into the stem by July. Secure the stems gently, leave a little room for movement, and check the ties regularly as the plant fills out.
Indeterminates need the strongest setup you can give them, since they outgrow a flimsy cage by midsummer. Determinates are bushier but still need support, because a heavy fruit load can split a stem or pull branches into the dirt. Growing vertically also keeps fruit off the ground and the plant open to view, which makes every later job easier.

How to Prune Tomatoes Properly
Pruning is all about airflow, structure, light reaching the fruit, disease prevention, and steering the plant's energy. Over-prune and you stress the plant and expose fruit to sunscald, under-prune an indeterminate and you get a dense jungle that hides pests and traps moisture. The goal is balance.

Pruning Indeterminate Tomatoes
These vines want a thoughtful, ongoing edit. Remove the lower leaves that touch or nearly touch the soil, since they are the first to catch splash-borne disease. Pinch out some suckers to manage size and keep air moving, and clear away any damaged, diseased, or badly crowded tomato foliage, while leaving enough healthy leaves to shade the developing fruit.
One gentler option for larger suckers is to pinch off just the growing tip rather than the whole shoot, a trick sometimes called Missouri pruning. It leaves a couple of lower leaves on the sucker to keep shading the fruit and feeding the plant while still stopping that sucker from sprawling, which can be the kinder choice in a hot, sun-exposed garden.
Prune on a dry day when possible, and wipe your pruners between plants so you are not carrying disease from one to the next.

Pruning Determinate Tomatoes
Go light here. A determinate has a finite amount of growth and fruit in it, and many of its suckers are future fruiting branches. Remove the lowest soil-touching leaves and anything clearly diseased or damaged, then mostly leave the plant alone. Stripping a determinate of its suckers is a common way to accidentally shrink your harvest.
Restarting a Neglected Plant
If a plant has gone untended and turned into a thicket, do not hack it back by half in one session, since a sudden heavy prune shocks the plant. Restart gradually, take off the small new suckers, the lower soil-touching leaves, and the obviously diseased or damaged foliage first, then come back in a few days for a little more. Slow and steady lets the plant recover while you open it up.

What are Tomato Suckers?
A tomato sucker is the new shoot that grows in the leaf axil, the V where a leaf branch meets the main stem. A sucker is just a potential new stem, and whether you keep it depends on what you want that stem to do. On indeterminate plants, removing some suckers helps you control size, improve airflow, and channel energy into fewer, stronger fruiting stems. On determinate plants, those same suckers often become the branches carrying your crop, so removing too many costs you tomatoes. Small suckers pinch off easily between thumb and finger, larger ones should be cut cleanly with sanitized pruners so the wound heals fast.

Should You Remove Suckers?
Run any sucker through a quick mental checklist. Is the plant determinate? Then lean toward leaving it. Is it indeterminate and getting crowded or jungly? Then thinning some suckers helps. Is the sucker low, weak, or shading the interior in a humid spell? Remove it. Is it strong, well-placed, and you have room and a long season ahead? You can let it run as a second stem. The point is to decide on purpose, not to remove every sucker out of habit.

Tomato Sucker Strategy
Some indeterminate growers train a single main stem for tighter spacing and faster, cleaner ripening. Others keep two leaders for more production while still controlling size. In hot climates, leaving a few interior leaves or one controlled sucker shades the fruit and reduces sunscald, which matters most on big beefsteaks in a heat wave. A more advanced move is to let a sucker set a cluster of fruit, then limit its further growth, so the plant gains a few extra tomatoes without collapsing into a tangle.

Watering Tomatoes Consistently
Watering is the most underrated tomato skill. Tomatoes do not want a flood one week and a drought the next, they want steady, even moisture throughout the growing season. The goal is to keep the soil consistently moist, never bone-dry and never waterlogged.
Water deeply and less often rather than frequent shallow sips, so roots grow down instead of clustering near the surface. As a rough starting point, established plants want around an inch or two of water a week from rain and watering combined, adjusted up in heat and wind and down in cool, damp stretches.

Water the soil at the base, not the foliage, because dry leaves resist disease, and tools like a soaker hose or drip line make that easy while keeping leaves dry. If leaves must get wet, do it in the morning so the sun dries them by night. Containers dry out far faster than in-ground beds, especially in heat, so a pot that suddenly feels light needs water even if the calendar says otherwise. Soil pH plays a hidden role too, since it affects whether roots can take up the nutrients present, and a severe pH problem can starve a plant surrounded by food.

Why Mulch Does So Much Heavy Lifting
Mulch is the simplest high-impact tool in the tomato patch, and it solves several problems at once. A layer of organic mulch keeps soil evenly moist and dries it more gradually, smoothing the moisture swings that cause cracking and blossom end rot. It blocks soil from splashing onto lower leaves during rain or watering, cutting off a major route for disease. It suppresses weeds and moderates soil temperature so roots stay comfortable. Just keep mulch pulled back slightly from the main stem, so you are not trapping wet material against it.

Feeding Tomatoes Through the Season
Tomatoes are hungry plants, but more is not better, and the wrong food at the wrong time can backfire. Too much nitrogen grows a gorgeous, leafy bush with disappointingly few tomatoes, because the plant pours its energy into foliage instead of fruit.
Aim for balanced nutrition that shifts toward supporting flowers and fruit as the season moves. It helps to know what the major nutrients do, nitrogen drives leafy green growth, while phosphorus and potassium support strong roots, flowering, and fruit. That is why a high-nitrogen feed early can help but the same feed later just grows more leaves at the expense of tomatoes, which is why tomato fertilizers lean away from heavy nitrogen once fruiting begins.

Compost, a slow-release fertilizer, or a tomato-specific blend all work when used appropriately. Water before feeding if the soil is very dry, and avoid pushing fertilizer on a stressed plant. Top-dress as plants move into flowering and fruiting so the nutrients are in place before any deficiency shows up in the leaves.
A simple framework is to start with a nutrient-rich planting hole enriched with compost in soil that drains well and sits slightly acidic, feed again as the plant settles in and begins active growth, support it as the first flowers appear, then again as fruit sets. For indeterminates, keep a light, steady feeding going through the long harvest window, since they produce for months. Determinates need strong early support but rarely the same drawn-out schedule, because their run is shorter by design.

Blossom End Rot, Cracking, and Sunscald
Three of the most common tomato heartbreaks share a theme, they are mostly preventable, and they trace back to the watering, mulching, and pruning habits already covered. Knowing the cause is what lets you stop chasing the wrong fix.
Blossom end rot shows up as a dark, sunken, leathery patch on the bottom of the fruit. It is a calcium issue inside the fruit, but the root cause is usually inconsistent water, not empty soil. The calcium is often already present and can only ride steady water movement up into the fruit, which is why dumping on more calcium so often fails. Check your watering rhythm, mulch, and soil moisture first, then pull off the badly affected fruit so the plant can focus on healthy new tomatoes, which usually come in clean once the watering evens out.

Cracking happens when dry soil suddenly meets heavy rain or watering and the fruit swells faster than its skin can stretch, so the skin splits. Steady watering and mulch prevent most of it, crack-resistant varieties help in unpredictable weather, and picking at the breaker stage lets you beat a coming downpour.
Sunscald is sunburn on the fruit, a pale, blistered patch where intense sun hits exposed tomatoes. It is the classic over-pruning injury, worse in hot climates and on large-fruited types. The fix is to prune the plant for airflow and light without stripping it bare, leave enough canopy to shade the fruit, and use temporary shade cloth in a brutal heat wave.

Blossom Drop and Pollination
Sometimes flowers fall off without ever setting fruit, and it feels like the plant is sabotaging you. Extreme heat, unexpected cold, too much nitrogen, water stress, or poor pollination are several triggers. Heat is the most common, since tomatoes struggle to set fruit when temperatures climb too high. On still days, gently shaking the flower clusters or giving the support a light buzz moves pollen and improves set, and shade cloth takes the edge off a heat wave. Once conditions ease, indeterminate plants generally pick right back up.

End-of-Season Topping
Late in the season, mostly on indeterminate plants, you can top the plant by cutting off its growing tip. The plant wants to keep making new flowers right up until frost, but those late blooms will never have time to ripen, so topping redirects that energy into the fruit already on the vine.
Timing is the whole game. Do it a few weeks ahead of your expected first frost, judged by your local climate, because topping too early cuts off fruit you could still have grown. Determinate plants do not need it, since they stop on their own. Done at the right moment, topping coaxes that last flush of green tomatoes to color up before the cold ends the season.
When frost is truly imminent, you do not have to lose the green tomatoes still on the vine. Pick the mature green ones, the full-sized fruit with a glossy skin, and ripen them indoors. A paper bag or a single layer in a box at room temperature works well, and tucking a ripe apple or banana in with them releases ethylene gas that nudges them along.

Growing Tomatoes in Containers
Container growing works well when you respect a few realities. Pots dry out much faster than garden beds, so consistent watering and feeding become non-negotiable. Bigger containers are far more forgiving than small ones, because more soil holds moisture longer and gives roots room, and good drainage is essential since a waterlogged pot rots roots fast.
As a guideline, aim for at least a five-gallon container for a compact determinate and something larger, ten gallons or more, for a vigorous indeterminate. Fill it with a quality potting mix rather than dense garden soil, which compacts and drains poorly in a pot, and feed a little more often than you would in the ground, since frequent watering flushes nutrients out the bottom. Also, watch out for heat, small dark pots can cook roots on a hot day.

Harvesting Better Tomatoes
Harvest timing is its own skill. Handle fruit gently to avoid bruising, and pull cracked tomatoes promptly, since a split skin shortens shelf life and invites rot. One flavor note, refrigeration dulls a tomato's taste and texture, so keep ripe tomatoes at room temperature and only chill them if you truly must.

Preventing Disease the Simple Way
You have already built much of your defense through the way you plant and care for your tomatoes. Deep planting encourages a stronger root system, pruning lifts foliage away from the soil, mulch helps stop soil from splashing onto the leaves, base watering keeps the plant drier, and good spacing allows air to move between plants. Together, these habits help reduce the warm, wet, crowded conditions that make fungal diseases like early blight and late blight harder to manage.
A few additions finish the job. Rotate where you plant, try not to put tomatoes, peppers, potatoes, or eggplants in the same spot more than once every three or four years, since related crops leave behind the same soil-borne problems and make the next planting more susceptible to disease. Pull visibly diseased leaves early and bin them rather than composting, where pathogens linger. If the same disease returns every year, switch to a resistant variety, and if soil-borne pressure is severe, grow in containers or raised beds to sidestep it.

Tomato Pest Prevention
Healthy, unstressed plants are simply easier to protect, which is why everything above doubles as pest prevention. Stress, overcrowding, dust, drought, and stagnant air all roll out the welcome mat for pests. Make inspection a habit, every few days, lift the leaves and check the undersides, watching for whiteflies, spider mites, aphids, hornworms, and thrips.

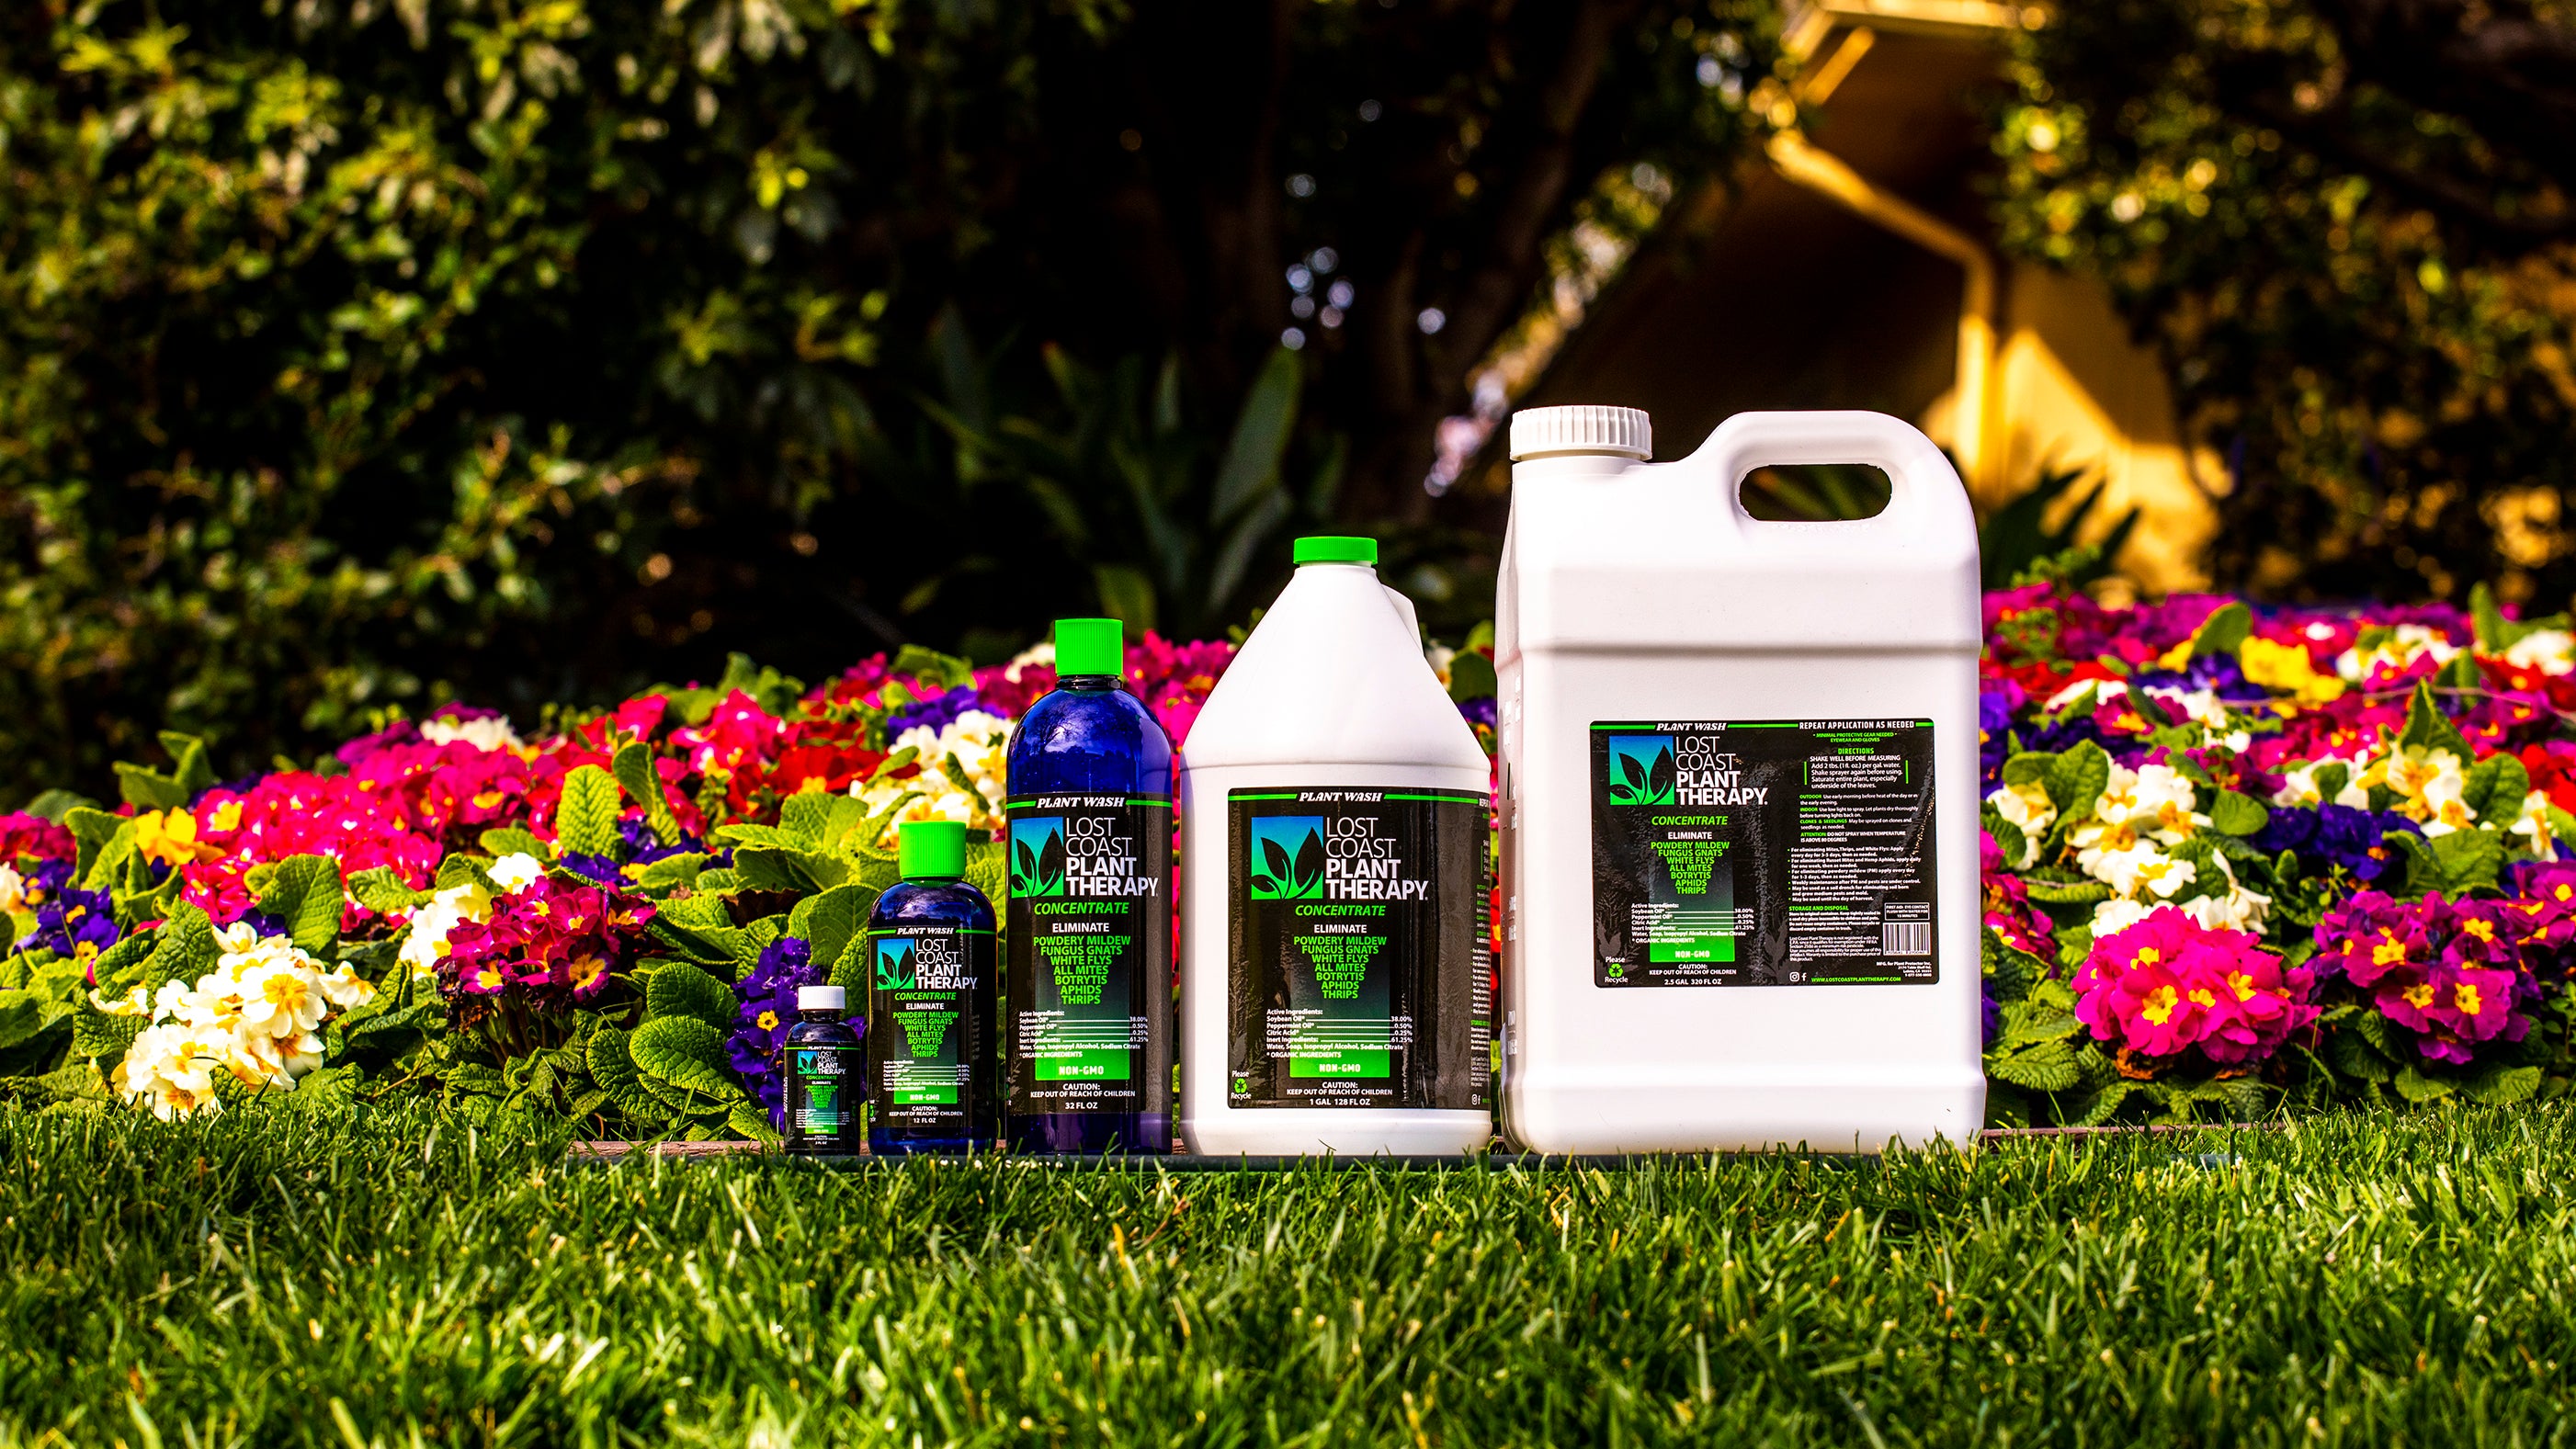
Lost Coast Plant Therapy: A 3-in-1 Pest Control Solution
When pests or powdery mildew show up despite good cultivation, you do not need a shelf full of harsh products. You need one that works on contact and is safe around the food you are growing. That is where Lost Coast Plant Therapy fits a tomato grower's routine.
It is a FIFRA 25(b) minimum-risk pesticide, a category for formulas built from ingredients considered low-risk enough to be exempt from federal registration. In plain terms, it is made from natural, plant-based ingredients rather than synthetic poisons, exactly what you want on a plant you intend to eat from. It works as a 3-in-1 pest control solution, so one bottle addresses the soft-bodied pests that plague tomatoes, including aphids, whiteflies, spider mites, and mealybugs, plus the powdery mildew that loves crowded, humid foliage. It eliminates pests by coating them on contact and clears mildew spores while shifting leaf-surface conditions to discourage regrowth.

Because it relies on contact rather than residual toxins, coverage is everything. Spray thoroughly, soaking the undersides of leaves, the stems, and the new growth where pests gather, and always follow the label for your crop. Apply in the cooler early morning or evening to avoid leaf stress in direct sun. Used as directed, it is safe around kids and pets, leaves no synthetic residue in your soil, and does not disrupt beneficial insects like bees and ladybugs.
See more on how it works here.

Common Tomato Growing Mistakes to Avoid
Most tomato disappointments come from treating every tomato plant the same way. Determinate tomatoes should not be pruned heavily because many of those suckers become fruiting branches, while indeterminate tomatoes often need steady thinning so they do not turn into a tangled jungle. The same idea applies to support, spacing, and harvest timing. Once you know which type you are growing, the advice becomes much easier to follow.
The other big mistakes usually include planting too shallow, transplanting before seedlings are hardened off, crowding plants too closely, adding support too late, watering on a rigid schedule instead of checking the soil, overfeeding nitrogen, letting lower leaves touch the ground, skipping mulch, and waiting too long to respond to pests. Tomatoes are forgiving plants, but they do best when we give them strong roots, steady support, good airflow, consistent moisture, and a little attention before small problems become big ones.

Conclusion
Growing beautiful tomatoes is one of those garden joys that teaches us as much as it feeds us. The best tomato garden is not perfect. It is cared for, watched over, and adjusted along the way. Some days that means tying up a heavy branch before it bends. Some days it means checking the undersides of leaves, giving the roots a deep drink, or noticing the first signs of pests or mildew before they spread.
Lost Coast Plant Therapy can be part of that steady care routine, helping you protect your plants preventatively while also giving you a gentle, effective way to control pests and plant diseases on contact when they appear.
With the right care and a little patience, you can grow the kind of tomatoes that remind you why home gardening is so worth it.

Frequently Asked Questions
Should I prune all my tomato plants?
No. Prune indeterminate (vining) tomatoes selectively for airflow and structure, and prune determinate (bush) tomatoes only lightly, since their suckers often become fruiting branches.
How long do tomatoes take to grow?
It depends on the variety, but most tomatoes take roughly 60 to 80 days from transplanting to the first ripe fruit, with cherry and early types on the faster end and big beefsteaks on the slower end. Keep in mind that the days-to-maturity number on the packet usually counts from transplant, not from seed, so add the 6 to 8 weeks of indoor seed starting to get your true timeline from sowing to harvest.
Can you grow tomatoes indoors?
Yes, though it takes more effort. Indoor tomatoes need a bright grow light and a little help with pollination, since there is no wind or bees to move pollen between the flowers. Compact determinate and dwarf varieties are the most realistic choices. Our full guide on how to grow tomatoes indoors covers the setup in detail.
What actually causes blossom end rot?
Usually inconsistent watering rather than a true lack of calcium. The calcium is often already in the soil but cannot reach the fruit without steady water movement, so fix the watering before adding anything.
Can I make my last tomatoes ripen before frost?
Yes. Top indeterminate plants a few weeks before your first expected frost to push energy into existing fruit, and finish breaker-stage tomatoes indoors at room temperature.
See Lost Coast Plant Therapy FAQ's here.

Additional Resources
Growing tomatoes in home gardens - University of Minnesota Extension
Saving Vegetable Seeds - University of Minnesota Extension
Growing Vegetables: Tomatoes - University of New Hampshire Extension
A Step-by-Step Guide to Saving Seeds - Oregon State University Extension
Growing Tomatoes in the Home Garden - Iowa State University
Growing Tomatoes in a Home Garden - University of Maryland Extension
Managing Whiteflies on Indoor and Outdoor Plants - University of Missouri Extension
Tips for Growing, Harvesting, and Storing Tomatoes – University of Arkansas Extension
Growing Home Garden Tomatoes - University of Missouri Extension
Growing Tomatoes in the Home Garden - Oklahoma State University Extension